Nutsert Tool
Rivnut gun technicians. Air, cordless & manual rivet nut tools.
Nutsert specialist with a wide range of air, cordless guns and manual rivnut tools from Pop®, Masterfix®, Far®, and more. Tool selection with technical know-how, plus repairs and spares. Also known as rivnut tools, rivnut guns or nut riveters. Looking for the best nutsert tool in Australia? Contact us or check out our nutsert tool blog.


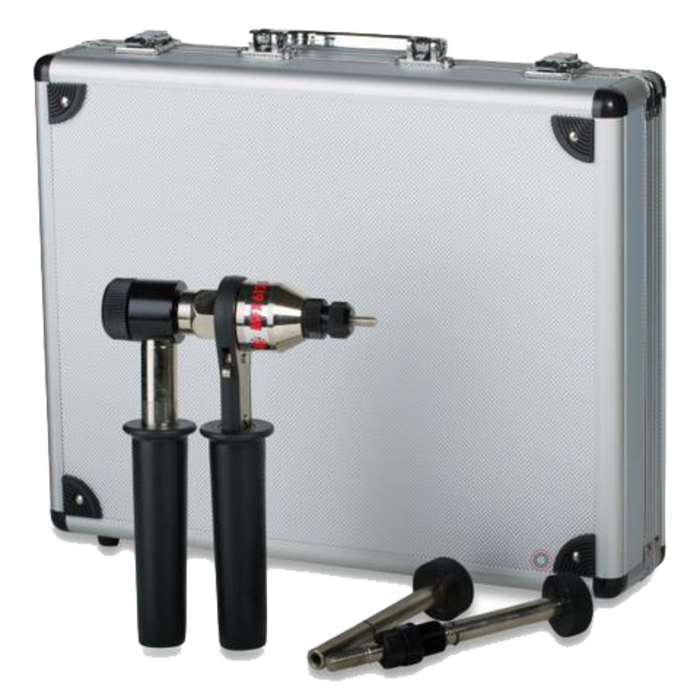


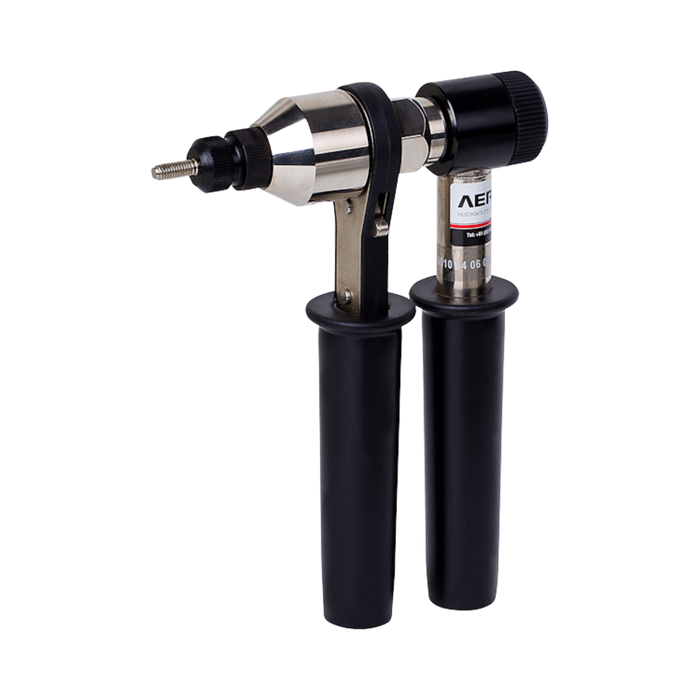
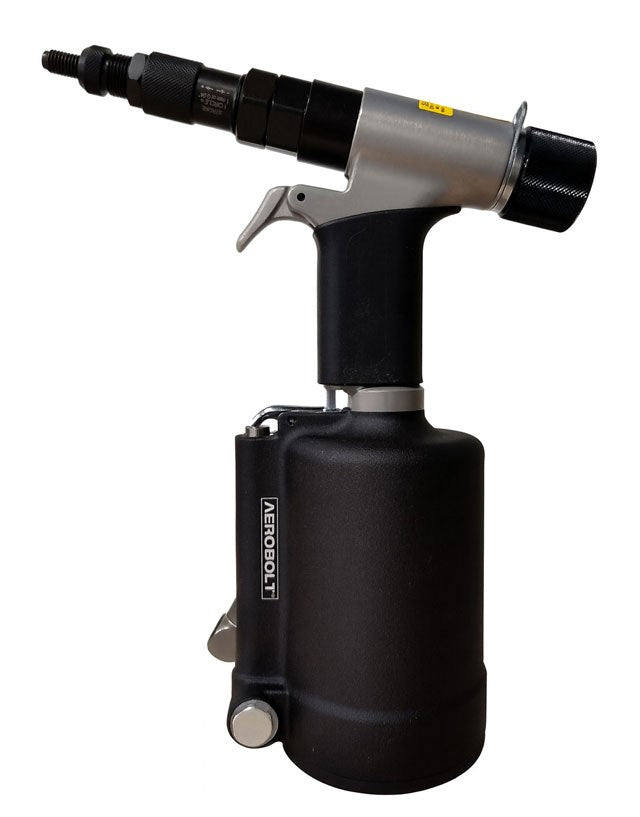
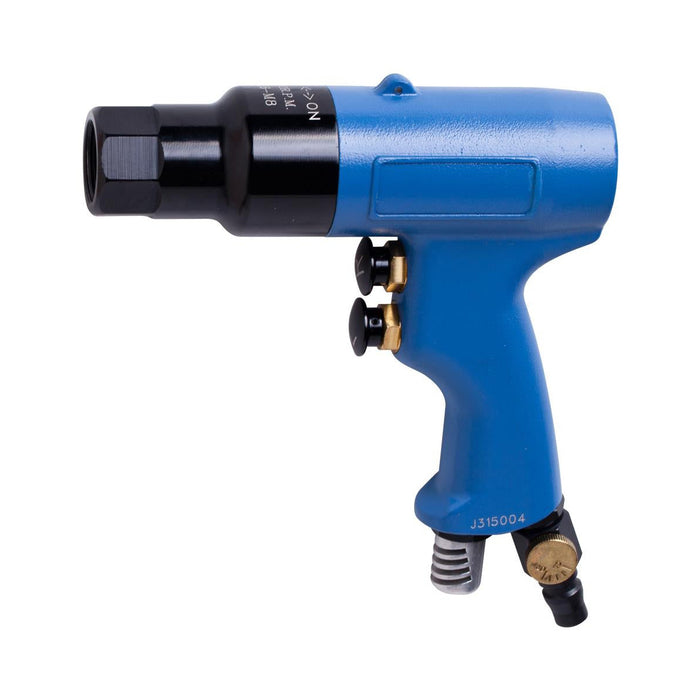
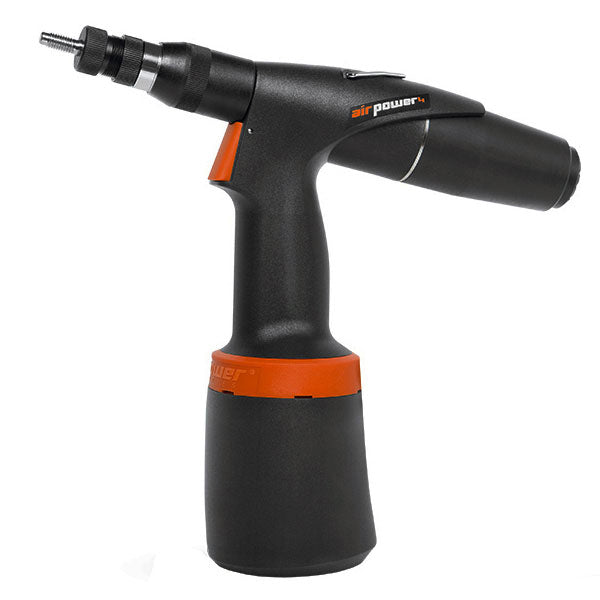
Nutsert Gun - Aerobolt® 0742 Air Model for M3, M4, M5, M6, M8, M10 & M12 Capacity
$1,622.50 Incl. GST

Nutsert Tools Overview
Explore Our Range of Nutsert Tools
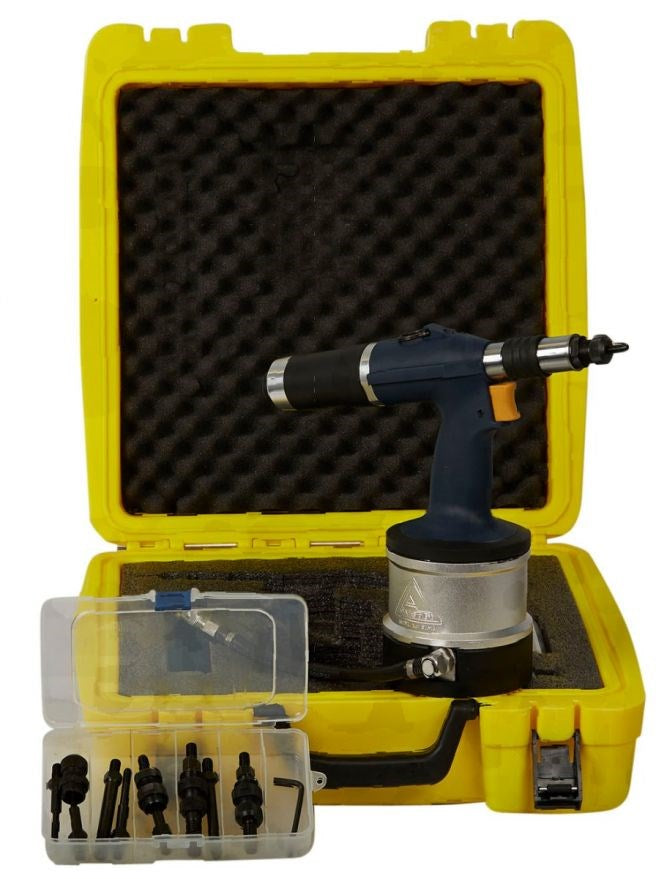
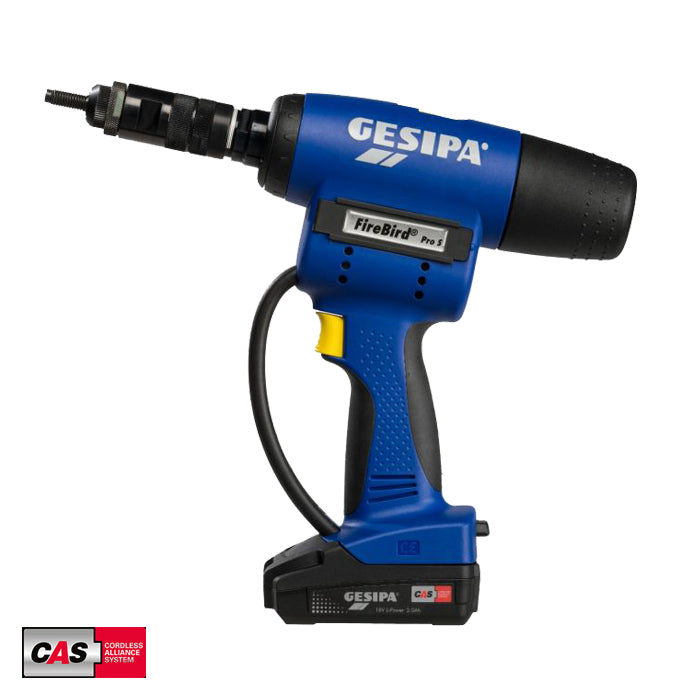
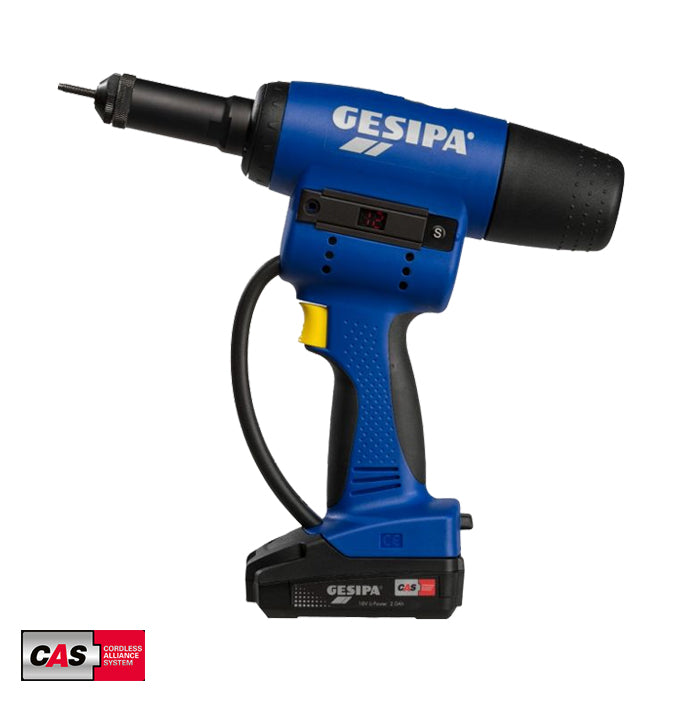
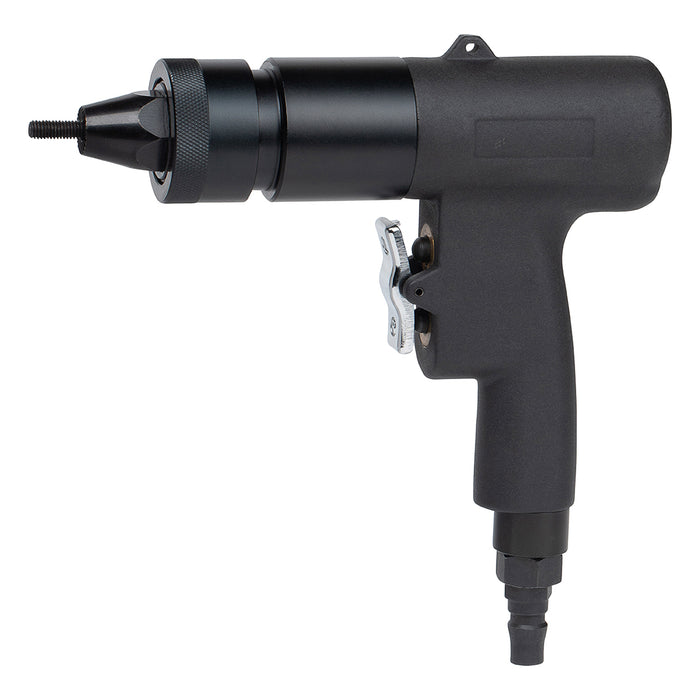
Discover a wide range of nutsert tools, including manual, hydraulic, and pneumatic options designed for versatility and durability. Engineered with ergonomic features, our tools provide precision and ease of use, making them suitable for diverse applications, from light-duty tasks to industrial-scale projects.
Why Choose Nutsert Tools from Huck Aerobolt?
Huck Aerobolt’s nutsert tools offer precision fastening, reliable performance, and ease of use. Designed for compatibility with various rivet nut sizes and materials, our tools ensure flawless installations. Trust Huck Aerobolt for superior-quality tools that meet the demands of professionals and deliver exceptional results every time.
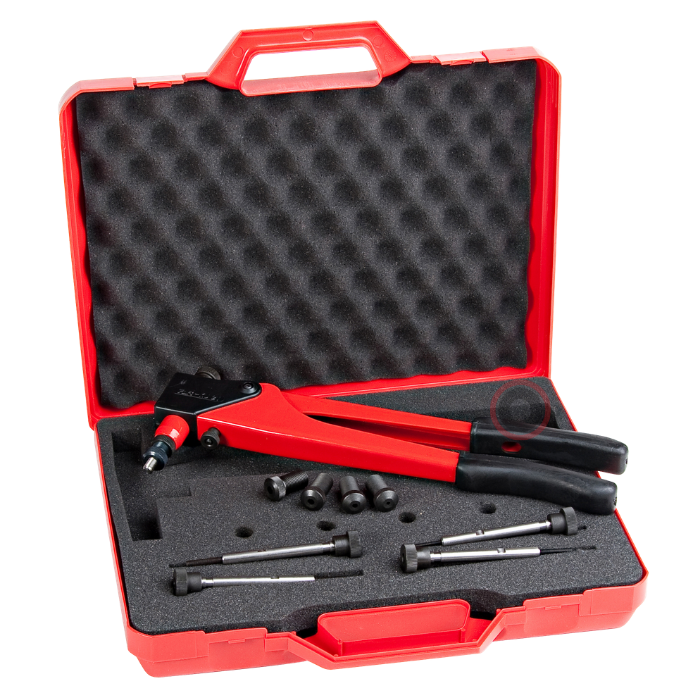
Types of Nutsert Tools We Offer
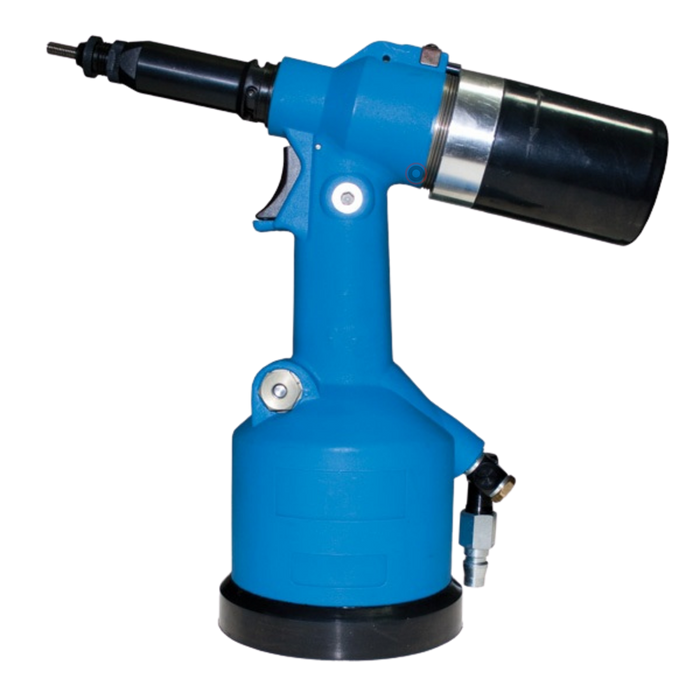
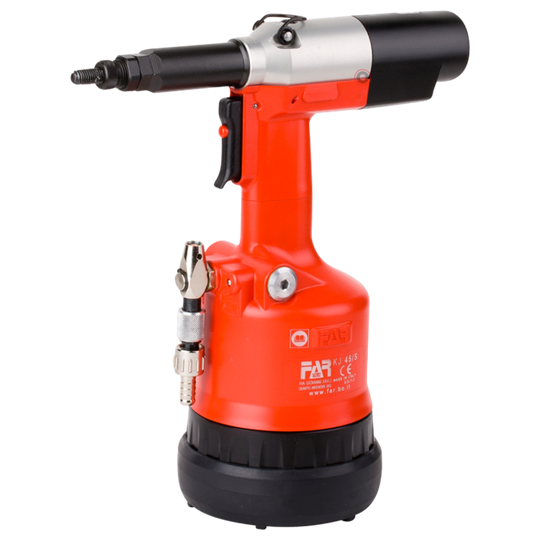
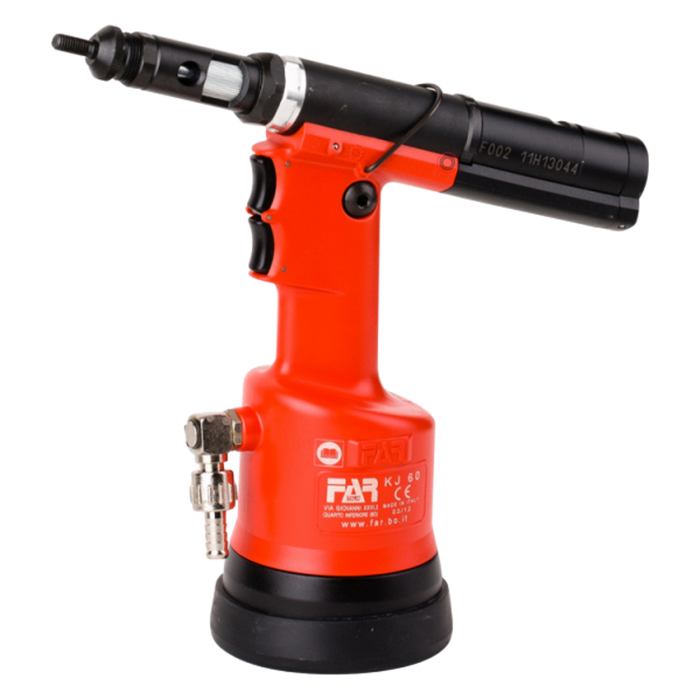
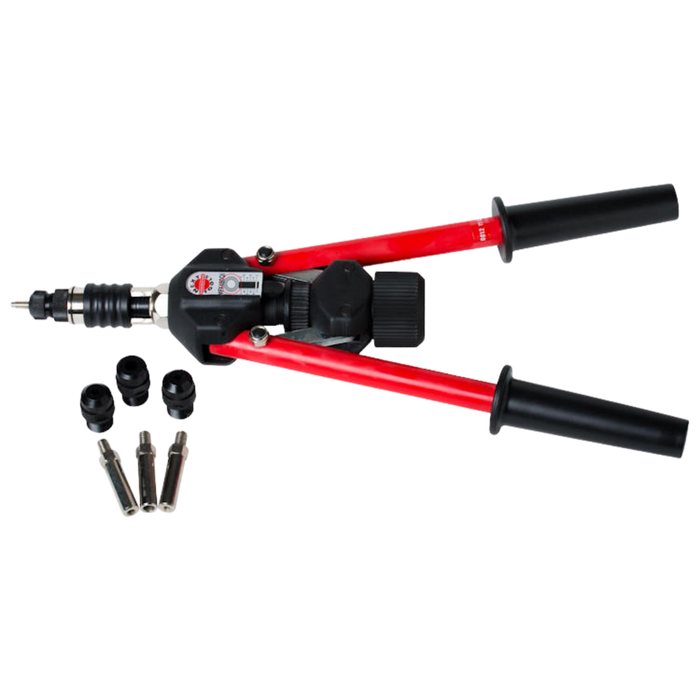
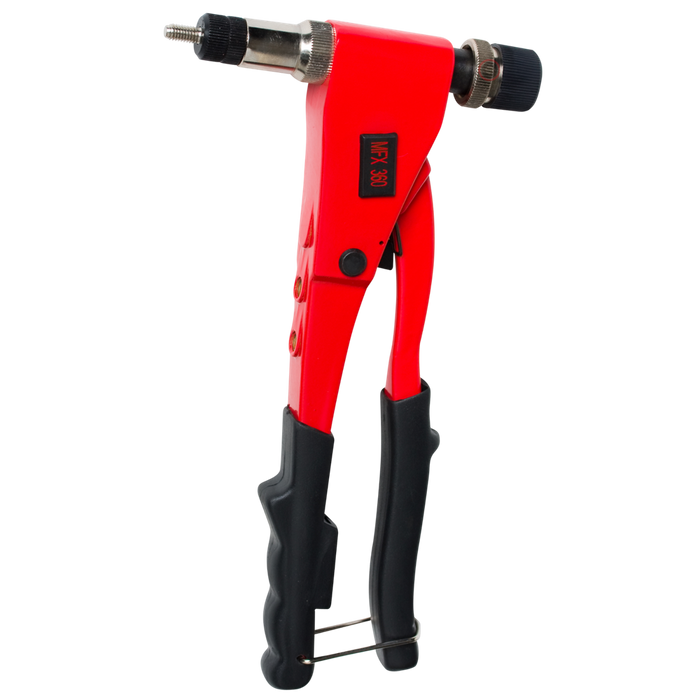
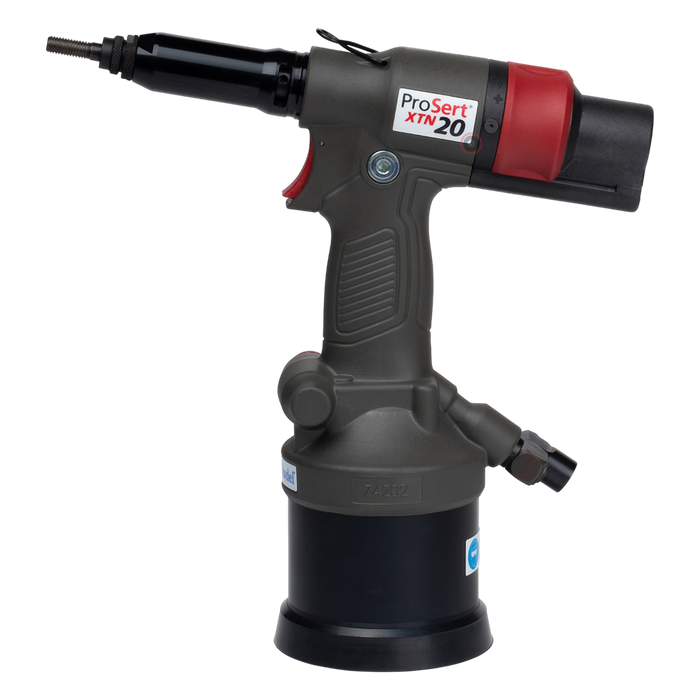
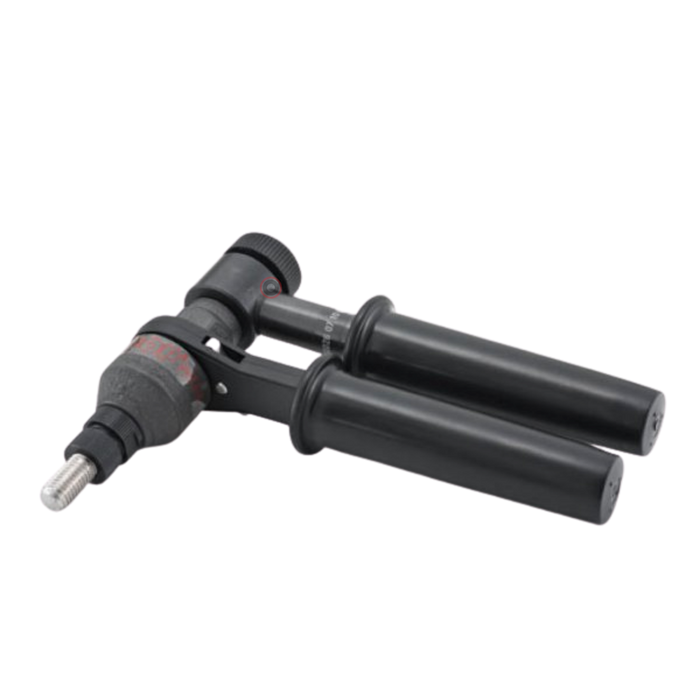
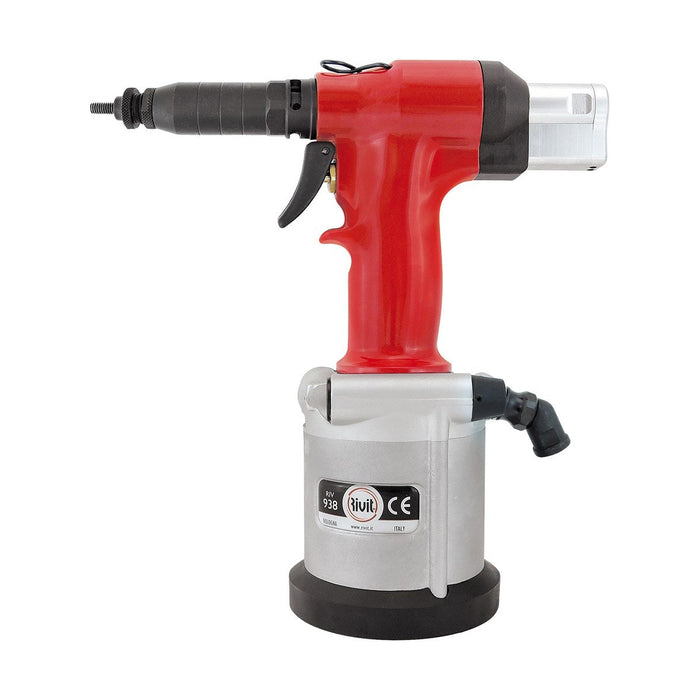
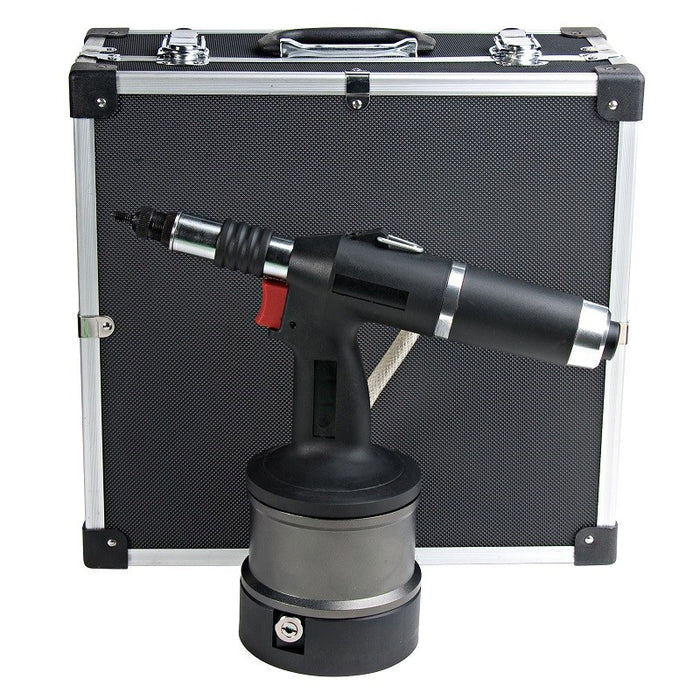
We offer nutsert tools tailored to your needs. Choose hand tools for light-duty installations or powered tools, like hydraulic and pneumatic options, for heavy-duty applications. Each tool is crafted for durability and efficiency, ensuring excellent performance across all project types.
Choosing the Right Nutsert Tool for Your Needs
Selecting the perfect nutsert tool depends on material type, project size, and installation volume. For smaller tasks, manual tools may suffice, while powered tools suit high-volume applications. Huck Aerobolt provides expert guidance to help you find the ideal tool for your specific requirements.
Nutsert Tools FAQs
What Is a Nutsert Tool?
A nutsert tool is a specialised device used to install rivet nuts securely into materials, creating strong threaded connections for various fastening applications.
How to Choose the Best Nutsert Tool?
Consider project requirements, material thickness, and installation volume. Manual tools are ideal for smaller jobs, while powered options offer efficiency for frequent or high-volume use.
Are Nutsert Tools Compatible with All Rivet Nuts?
Yes, nutsert tools are compatible with various rivet nut sizes and materials. Always confirm the tool's specifications to ensure a perfect fit for your chosen rivet nuts.
What Are the Benefits of Using Powered Nutsert Tools?
Powered nutsert tools enhance efficiency and reduce operator fatigue, making them ideal for high-volume installations. They deliver consistent, precise results, streamlining industrial and professional projects.