Nutserts & Inserts

Nutserts, Rivnut & Rivet Nut Experts.  

Nutserts are fundamentally a tube with an internal thread that attaches onto a surface for bolting purposes, where a simple hole opening is not possible because the material is too thin. Australia's #1 range from popular Nutsert "Xtralok®" for extra grip through to Hex Nutserts, Rivnuts, and PlusNuts. Wide range of air and cordless nutsert rivnut guns. New to nutserts? Check out the Nutsert Blog.

Nutsert Xtralok

Hex Nutserts

Smooth Body Rivnuts

PlusNut Inserts

Threaded Studs

Jack Nuts

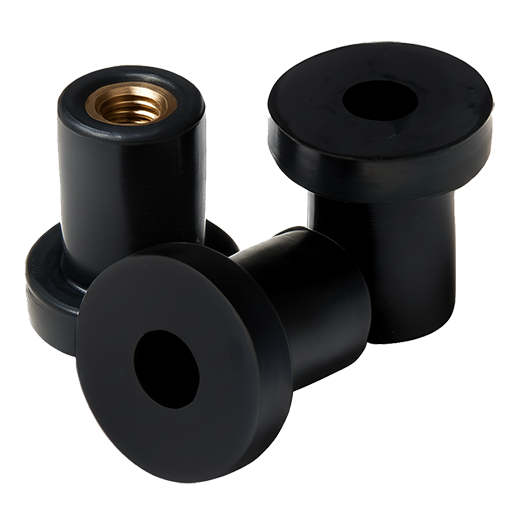
Well Nuts

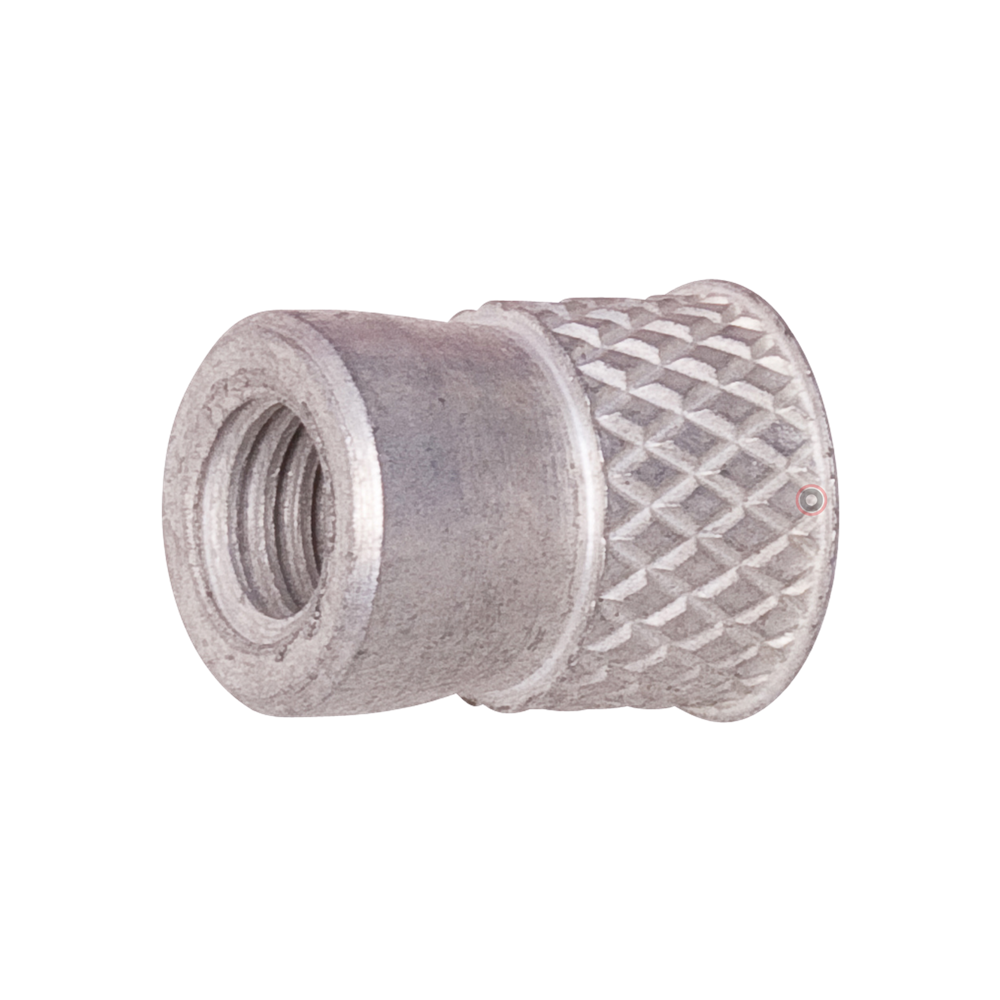
Inserts For Plastic

Rivet Nuts AVK

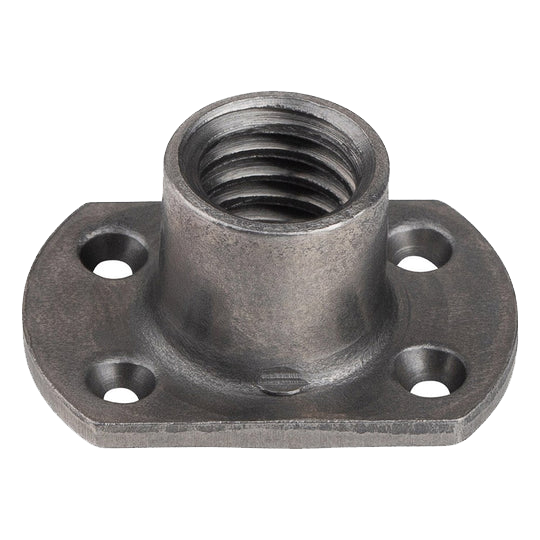
Weld Nut

Inserts For Wood

Nutsert Xtralok Kit

Nutsert, Rivnut & Rivet Nut Overview

Nutserts & Rivnuts offer a secure threaded rivet nut fastening solution in thin or soft materials. Essentailly nutserts are a combination of a nut and a rivet. They install like a rivet - which makes them great for one side or blind side installations and once installed you have an internal threaded that is permanent - like a nut. A tubular fastener that attaches onto surfaces for bolting purposes where a hole opening isn't possible as the material is thin. Ideal for punched or drilled holes rivet nuts can be installed with a tool at any stage of the manufacturing process even after finish coat is applied. Aerobolt has a wide range of rivnut sizes including M3, M4, M5, M5, M6, M8, M10, M12 + select imperial sizes in a range of body types that include circular, hex shape and threaded stud options.     

How do nutserts work?

Nutserts are known as rivnuts, rivet nuts or threaded inserts are designed to add a threaded hole to thin material, such as sheet metal or plastic. This is where conventional tapping is impractical. Nutserts are particularly useful in applications where you need a strong, permanent thread in a material that is too thin to support threading on its own. Click here to learn more abot nutserts + see  the video showing how to onstall a nutsert.  These are the steps to install a nutsert. 

Step 1. Thread the nutsert onto the mandrel of the tool, with some assistance some tools automatically load the nutsert. 

Step 2. Place the nutsert in the pre-drilled hole and activate tool to begin swaging process. Tool’s mandrel will pull up nutsert causing the body to compress and swell to fill the hole.

Step 3. The nutsert has now bulged & created a lip on the blind side of the material, firmly interlocking onto the material.  

Step 4. Nutsert tool will either automatically or manually reverse out of the nutsert. Job well done!

Nutsert V's Rivnuts 

These are different trademark words that refer to "rivet nut", which is the generic term for these fastening components. Words can be trademarked for brand marketing purposes and sometimes these transcend to everyday language, popular brand words like Nutsert® by Stanley Engineered Fastening, or Rivnut® by Bollhoff are popular trademarks that are used in everyday language to describe the rivet nut fastener.

Components of a Nutsert. 

Body: The main part of the nutsert, which is typically cylindrical and has an internal thread for a bolt or screw.

Flange: A wider rim at one end that prevents the nutsert from being pulled through the material.

Body Surface: Knurled or Smooth Shank: The part of the nutsert that deforms to lock iinto place.

How Nutserts Are Installed. 

Drill a Hole: First, a hole is drilled into the base material, slightly larger than the uncompressed diameter of the nutsert.

Insert the Nutsert: The nutsert is placed into the hole, with the flange resting against the surface of the material.

Nutsert Tool: (Rivnut tool, rivet nut gun or nut riveter) is used to pull up the nutsert while pushing against its flange.

Nutsert Installtion Process: The action collapses and deforms the shank of the nutsert, causing it to bulge out and grip the backside of the material. This creates a secure hold, even in thin materials. Once installed, the nutsert provides a durable, threaded hole that can accept screws or bolts, allowing you to attach other components.

How to install a nutsert without a tool? 

This can be tricky if you are not handy, there are many online videos that show how this is done. At Aerobolt we recommend a nutsert tool for a professional finish.

How to remove a nutsert? 

Nutsert removal is not straight forward even with the right tools as it could damage the parent surface. This requires the destruction of the nutsert, and the best method is to drill it. You will need, a drill, drill bit, long nose pliers, & safety accessories such as glasses and gloves.

Steps: Use your safety glass & gloves before starting the drilling process. Place the drill bit inside the nutsert centre and drill the body at a low but steady speed. Once drilling is completed, pull the nutsert off with your long nose pliers.  

Types of Nutserts.

Aerobolt has a wide range of nutserts including; 

Open-End Nutserts: Allow bolts or screws to pass completely through.

Closed-End Nutserts: Seal the backside, preventing liquids or debris from entering.

Knurled Nutserts: Have ridges on the shank for extra grip.

Smooth Nutserts: Suitable for softer materials.

Threaded Studs; For a prodruding thread.

Nutsert Applications.

Nutserts are commonly used in industries like automotive, aerospace, and construction for attaching brackets, mounting components, or securing panels. They are ideal for repair work or situations where you cannot access the backside of the material (blind installations).

How strong are nutserts?

The strength of nutserts (rivet nuts or threaded inserts) depends on several factors, including their material, size, and the material into which they are installed. Here is an overview of their strength characteristics:

Factors Affecting Nutsert Strength

1. Material of the Nutsert

Steel Nutserts: Provide the highest strength and are ideal for heavy-duty applications.

Stainless Steel Nutserts: Offer excellent strength and corrosion resistance, suitable for harsh environments.

Aluminium Nutserts: Lighter and less strong than steel, but still sufficient for many lightweight applications.

2. Thread Size

Larger nutserts can accommodate larger screws or bolts, which can handle higher loads.

The thread engagement also affects the pull-out and shear strength.

3. Installation Material

The holding strength of a nutsert depends on the thickness and type of material into which it is installed. For example:

Steel or Aluminium Sheets: Provide higher clamping and shear strength.

Plastic or Thin Sheets: May limit strength due to deformation under load.

4. Installation Quality

Proper installation ensures a secure grip, preventing spin-out or pull-out under load.

Over-tightening can damage the material or weaken the connection.

Strength Metrics

Nutserts are typically rated for two key forces:

Pull-Out Strength:

The force required to pull the nutsert out of the base material.

Stronger materials and thicker sheets increase pull-out resistance.

Example: A steel M6 nutsert in a 1.5mm steel sheet can withstand 300-500 pounds (136-227 kg) of pull-out force, depending on the brand and installation quality.

Shear Strength:

The force that the bolt or screw can resist parallel to the surface.

This depends on the bolt grade, nutsert material, and thread engagement.

Example: A steel M8 nutsert in a similar setup might handle shear forces of 700-1000 pounds (318-454 kg).

Applications and Load Considerations

Nutserts are generally strong enough for: Mounting brackets, panels, or hardware.

Securing parts in automotive, aerospace, or marine industries.

Applications requiring reliable performance under moderate loads.

However, for extreme loads, alternatives like weld nuts or high-strength fasteners might be more appropriate.